

How to Prepare for a Four-Point Insurance Inspection in Florida
If your insurance company has asked for a four-point inspection, you're not alone. It's a common request in Florida, especially for older homes, and a little preparation beforehand can save you time, money, and a frustrating delay.
A four-point inspection looks at four major systems in your home: the roof, electrical, HVAC, and plumbing. The inspector documents what's there, what condition it's in, and takes photos for your insurer. The insurance company then uses that report to decide whether to offer or renew coverage.
After doing this for many years across Southeast Florida, we see the same small issues trip people up again and again. Most of them are easy to fix before the inspector arrives. Here's how to get ready.

1. Clean Up and Clear the Exterior
The inspector will need clear photos of all four sides of your home, so make sure every elevation is visible. Insurers can and do make decisions based on what they see in those photos.
Before the visit:
Move or remove trampolines, fire pits near the house, gas cans, and general clutter around the outside of the home.
Trim back any trees or branches hanging over the roof.
Give the property a neat, well-kept appearance.
It sounds simple, but a tidy exterior makes a better first impression on the report.
2. Make Your Electrical Panels Easy to Reach
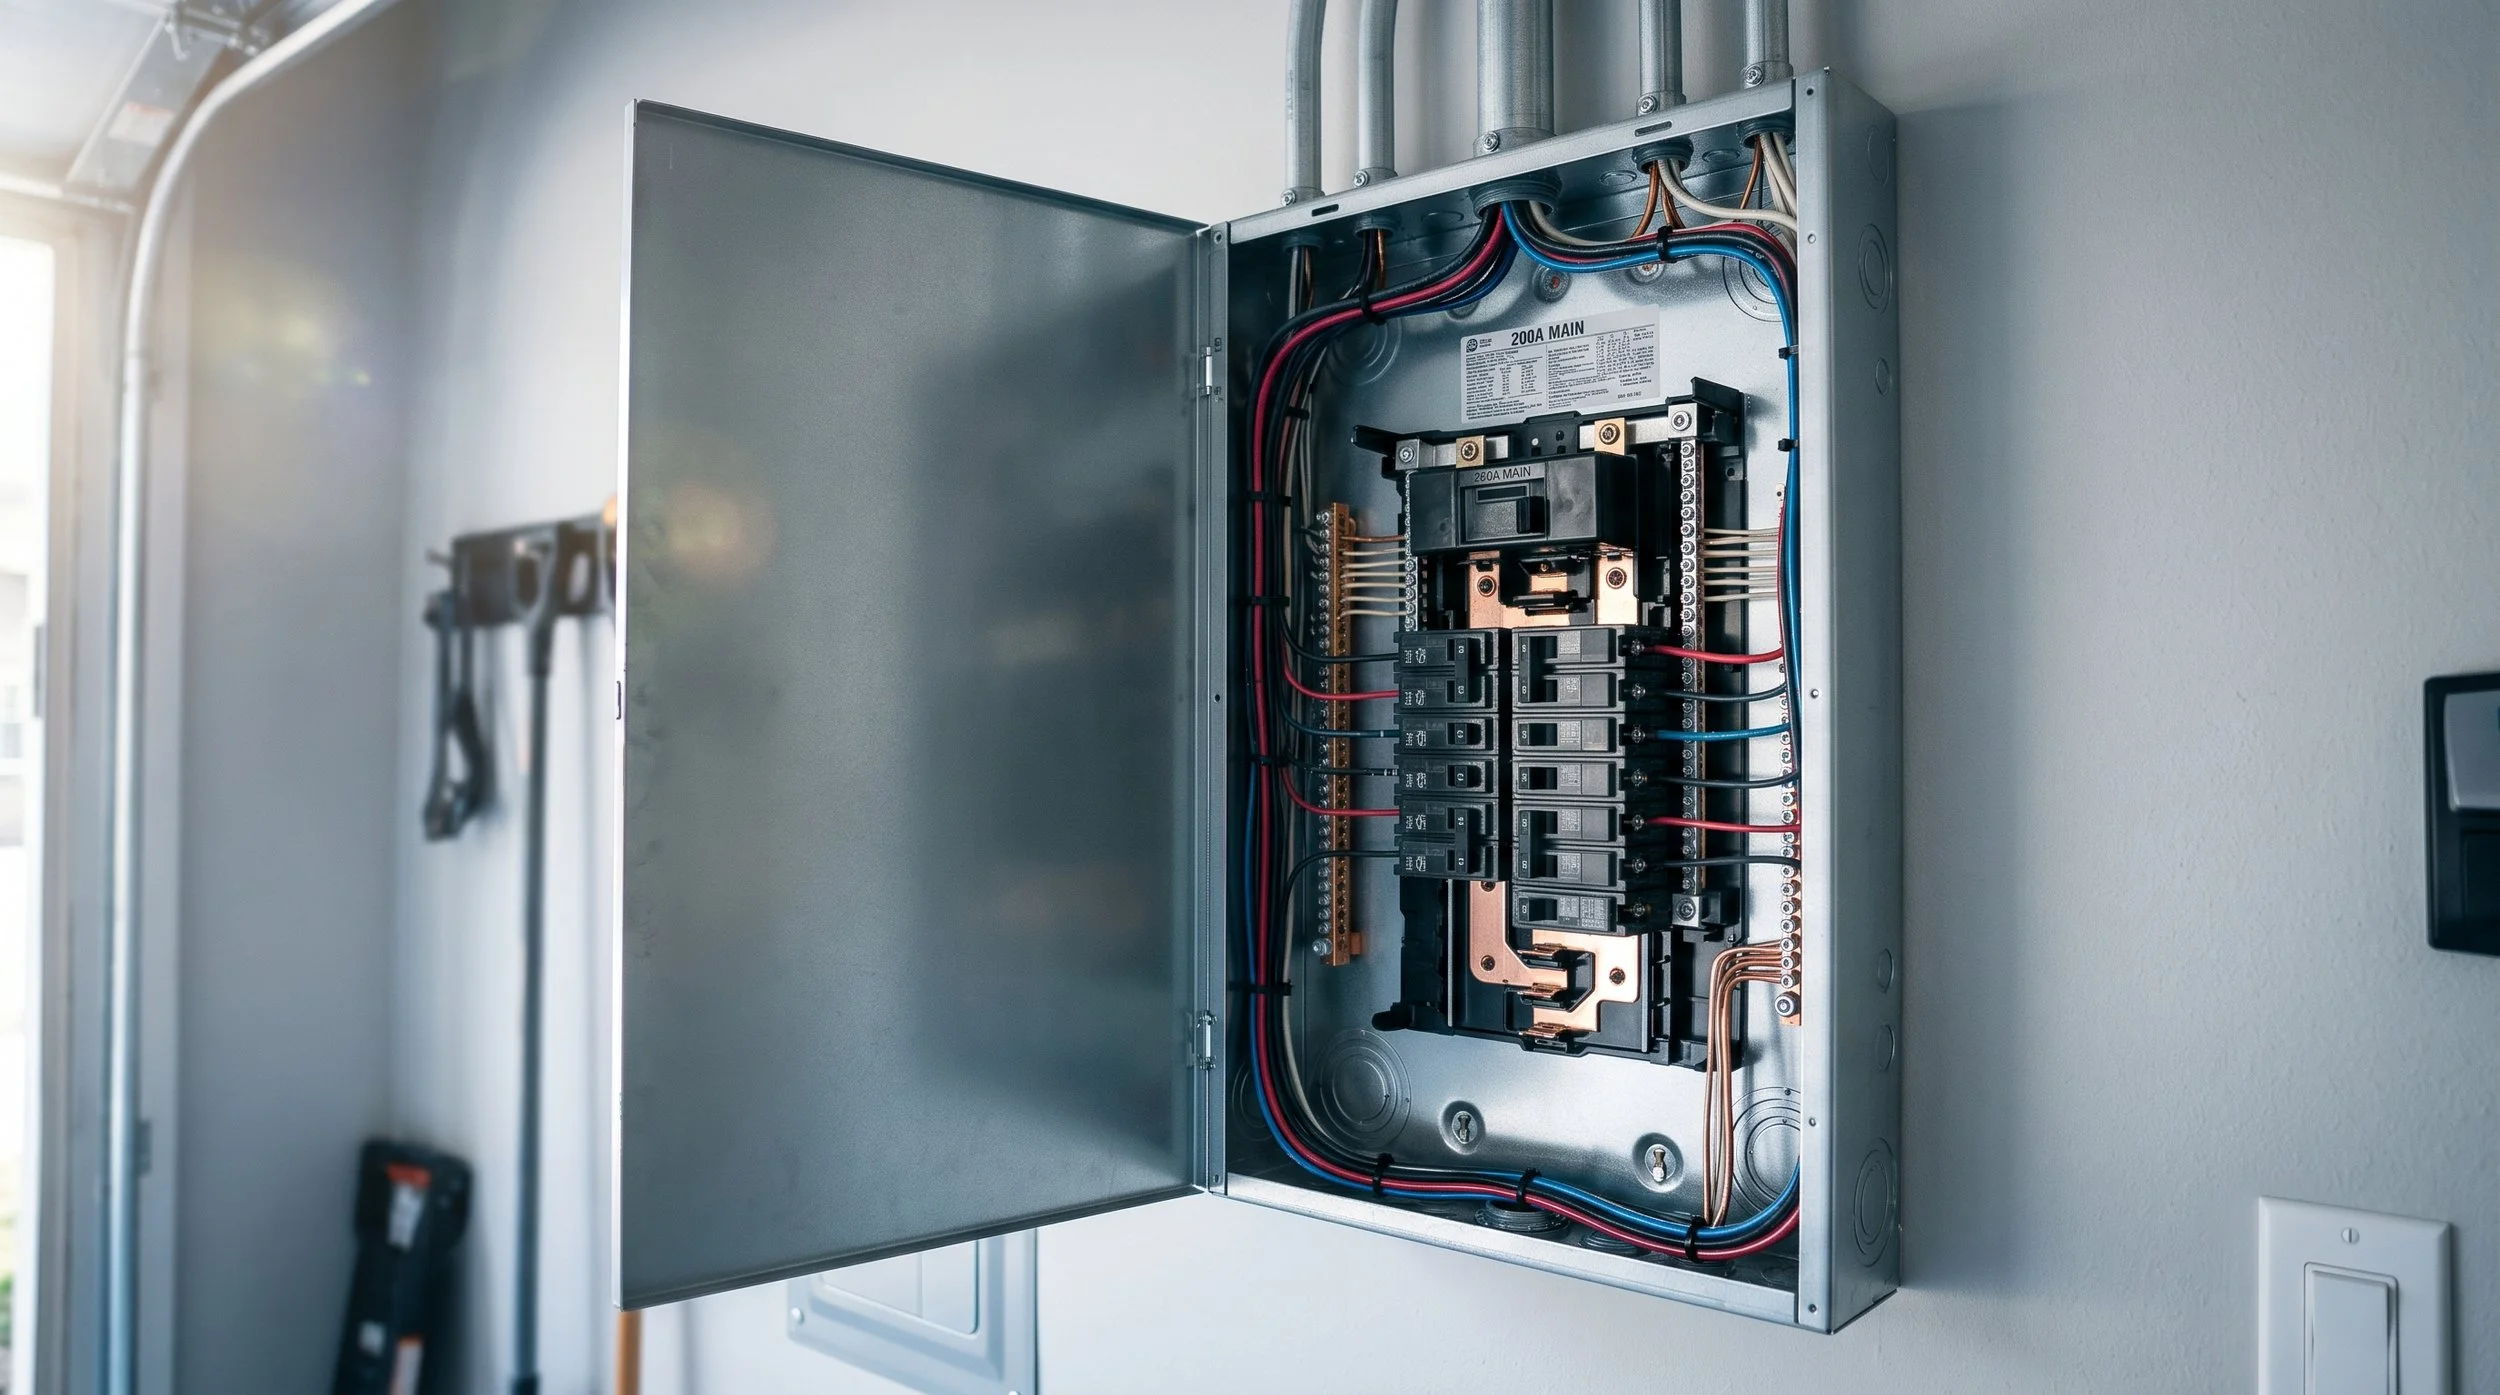
Find every electrical panel on the property and make sure you can get to each one. Garages are the biggest problem here. Storage shelves, boxes, and bikes often end up right in front of the panel.
Expect the inspector to photograph the front of the panel, the label and amperage, and the inside of the panel after removing the cover.
A few important notes:
Don't paint, caulk, or seal the panel cover shut.
If the screws are frozen or the cover can't be removed, the inspection may not be able to be completed.
If you haven't opened your panel in years, it's worth checking that the cover comes off properly.
3. Clear the Way to Your HVAC and Water Heater
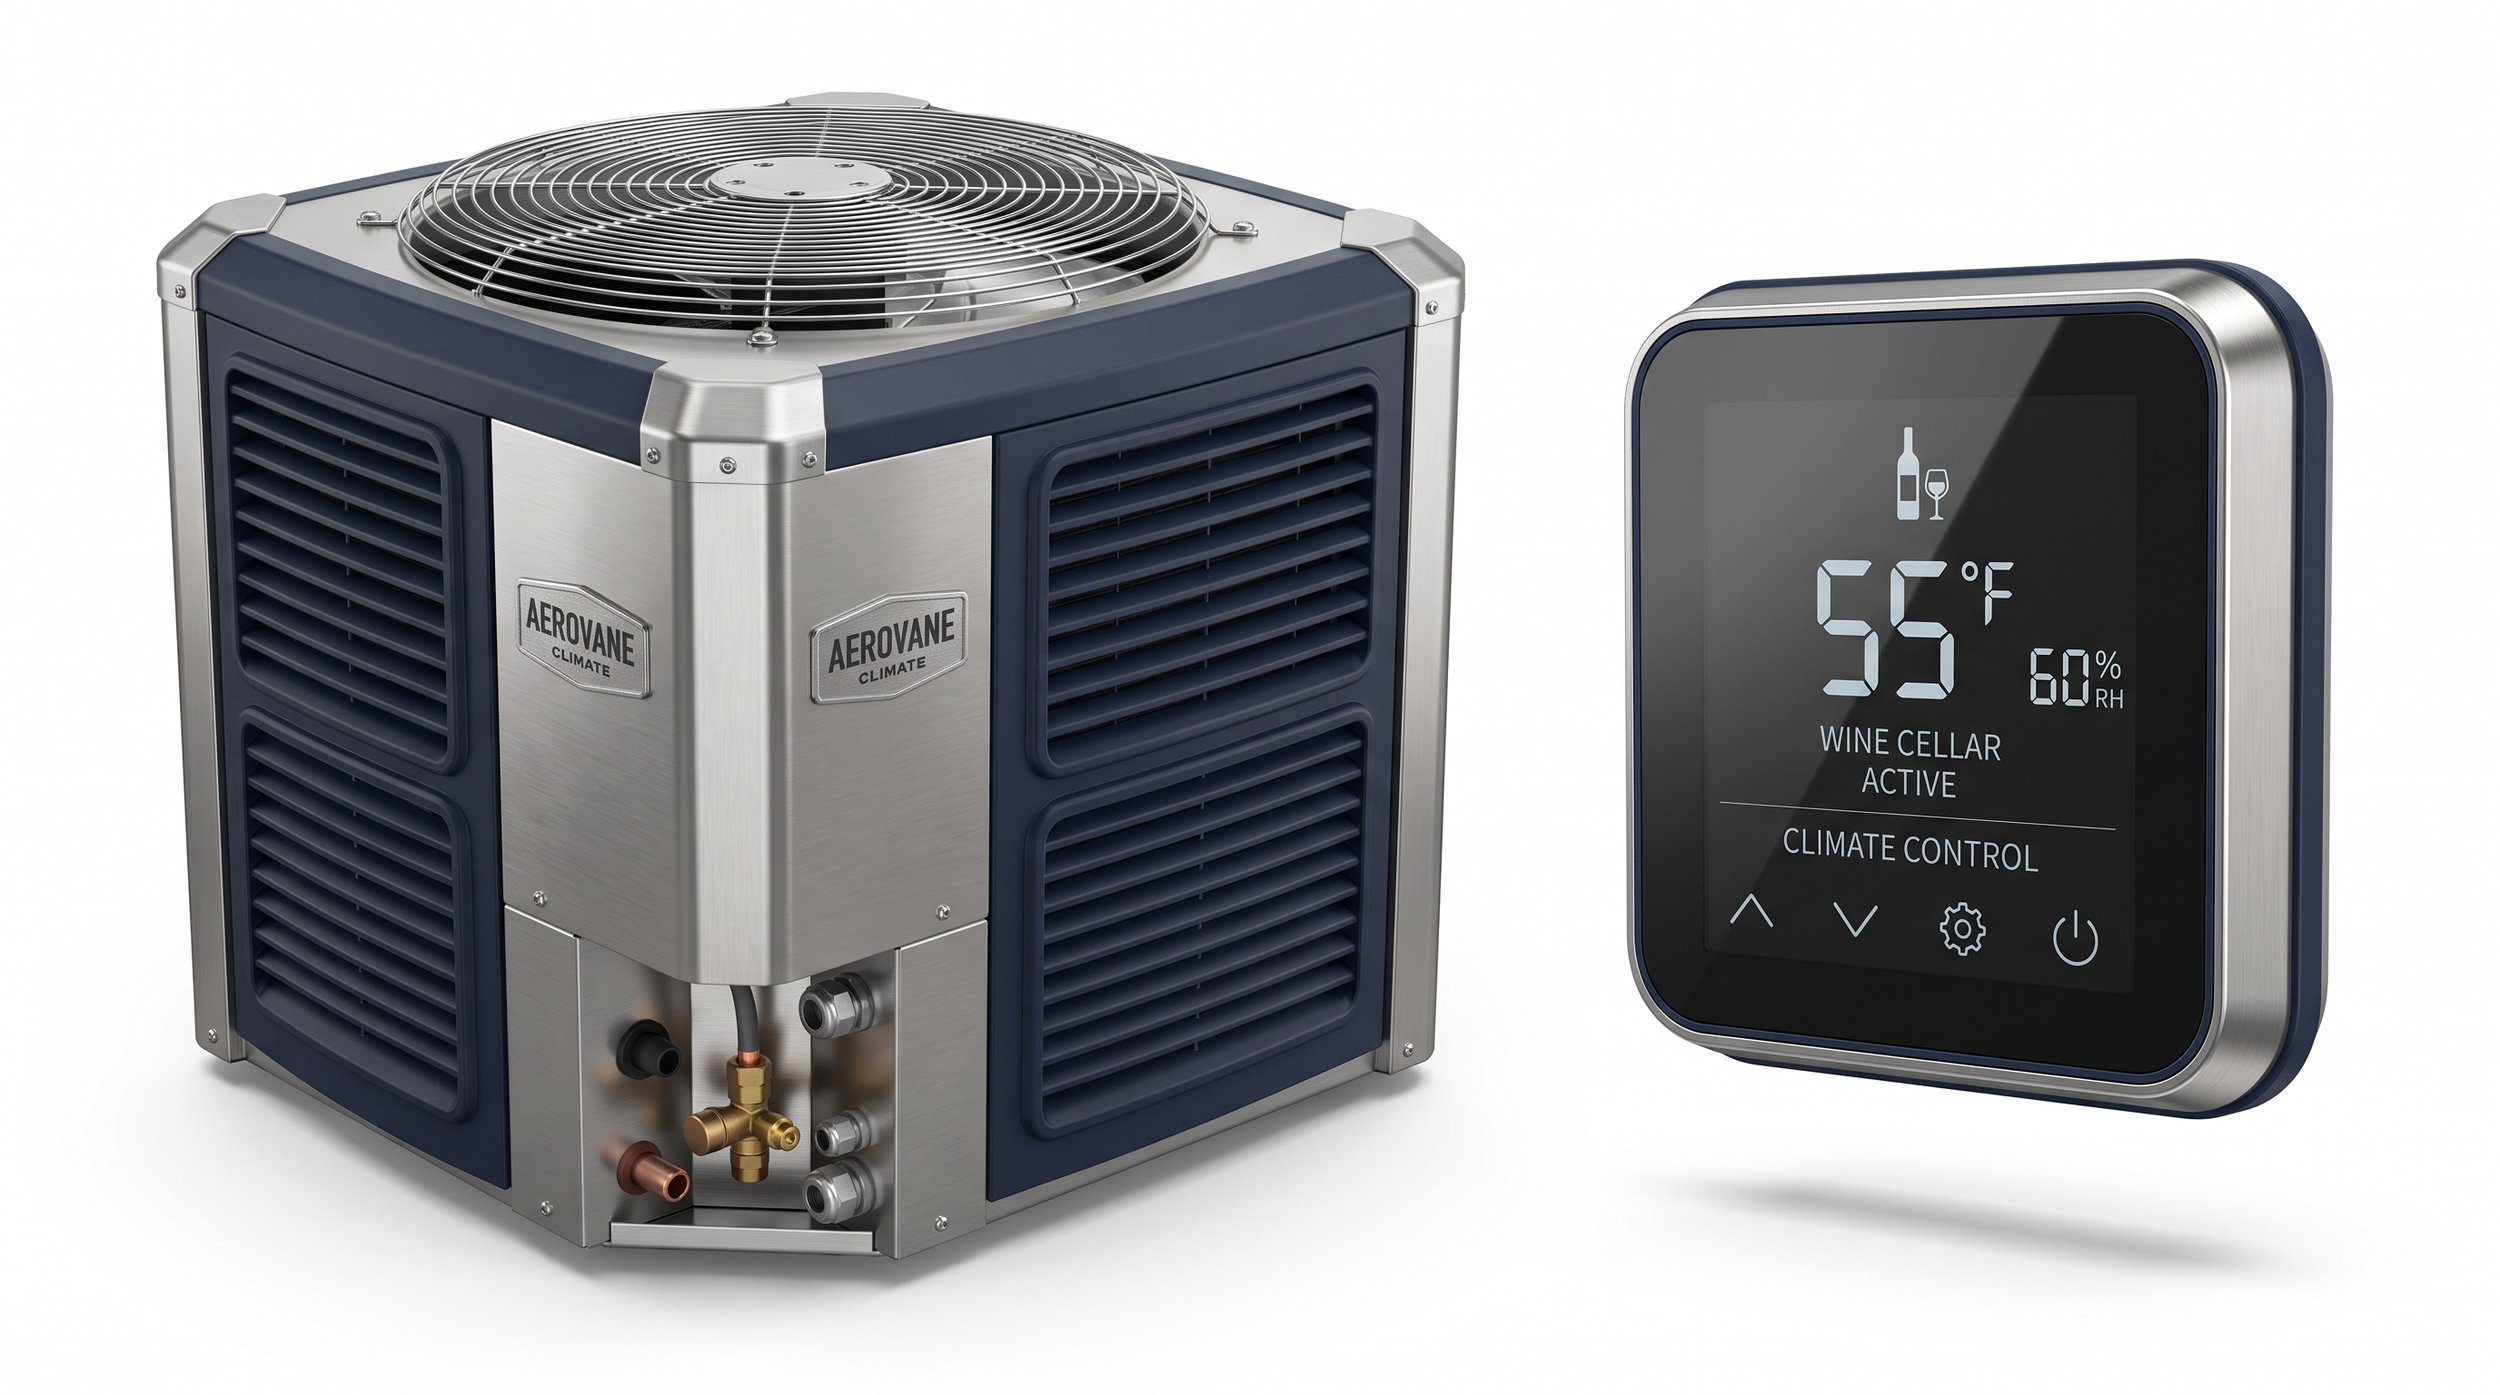
The inspector needs to see and photograph your outdoor condensing unit, your air handler, and your water heater, including the data labels on each. That includes tankless water heaters and similar units
Take a few minutes to move anything stored in front of this equipment. Closets and garages are the usual culprits.
4. Check Your Plumbing for Leaks and Corrosion
This is where we see the most surprises. Before the inspection, take a close look at your plumbing yourself.
Inspectors typically photograph:
Under every sink
Drain lines and supply lines
Shutoff valves
Washing machine valves
Toilet valves
Showers and faucets
The main water shutoff valve
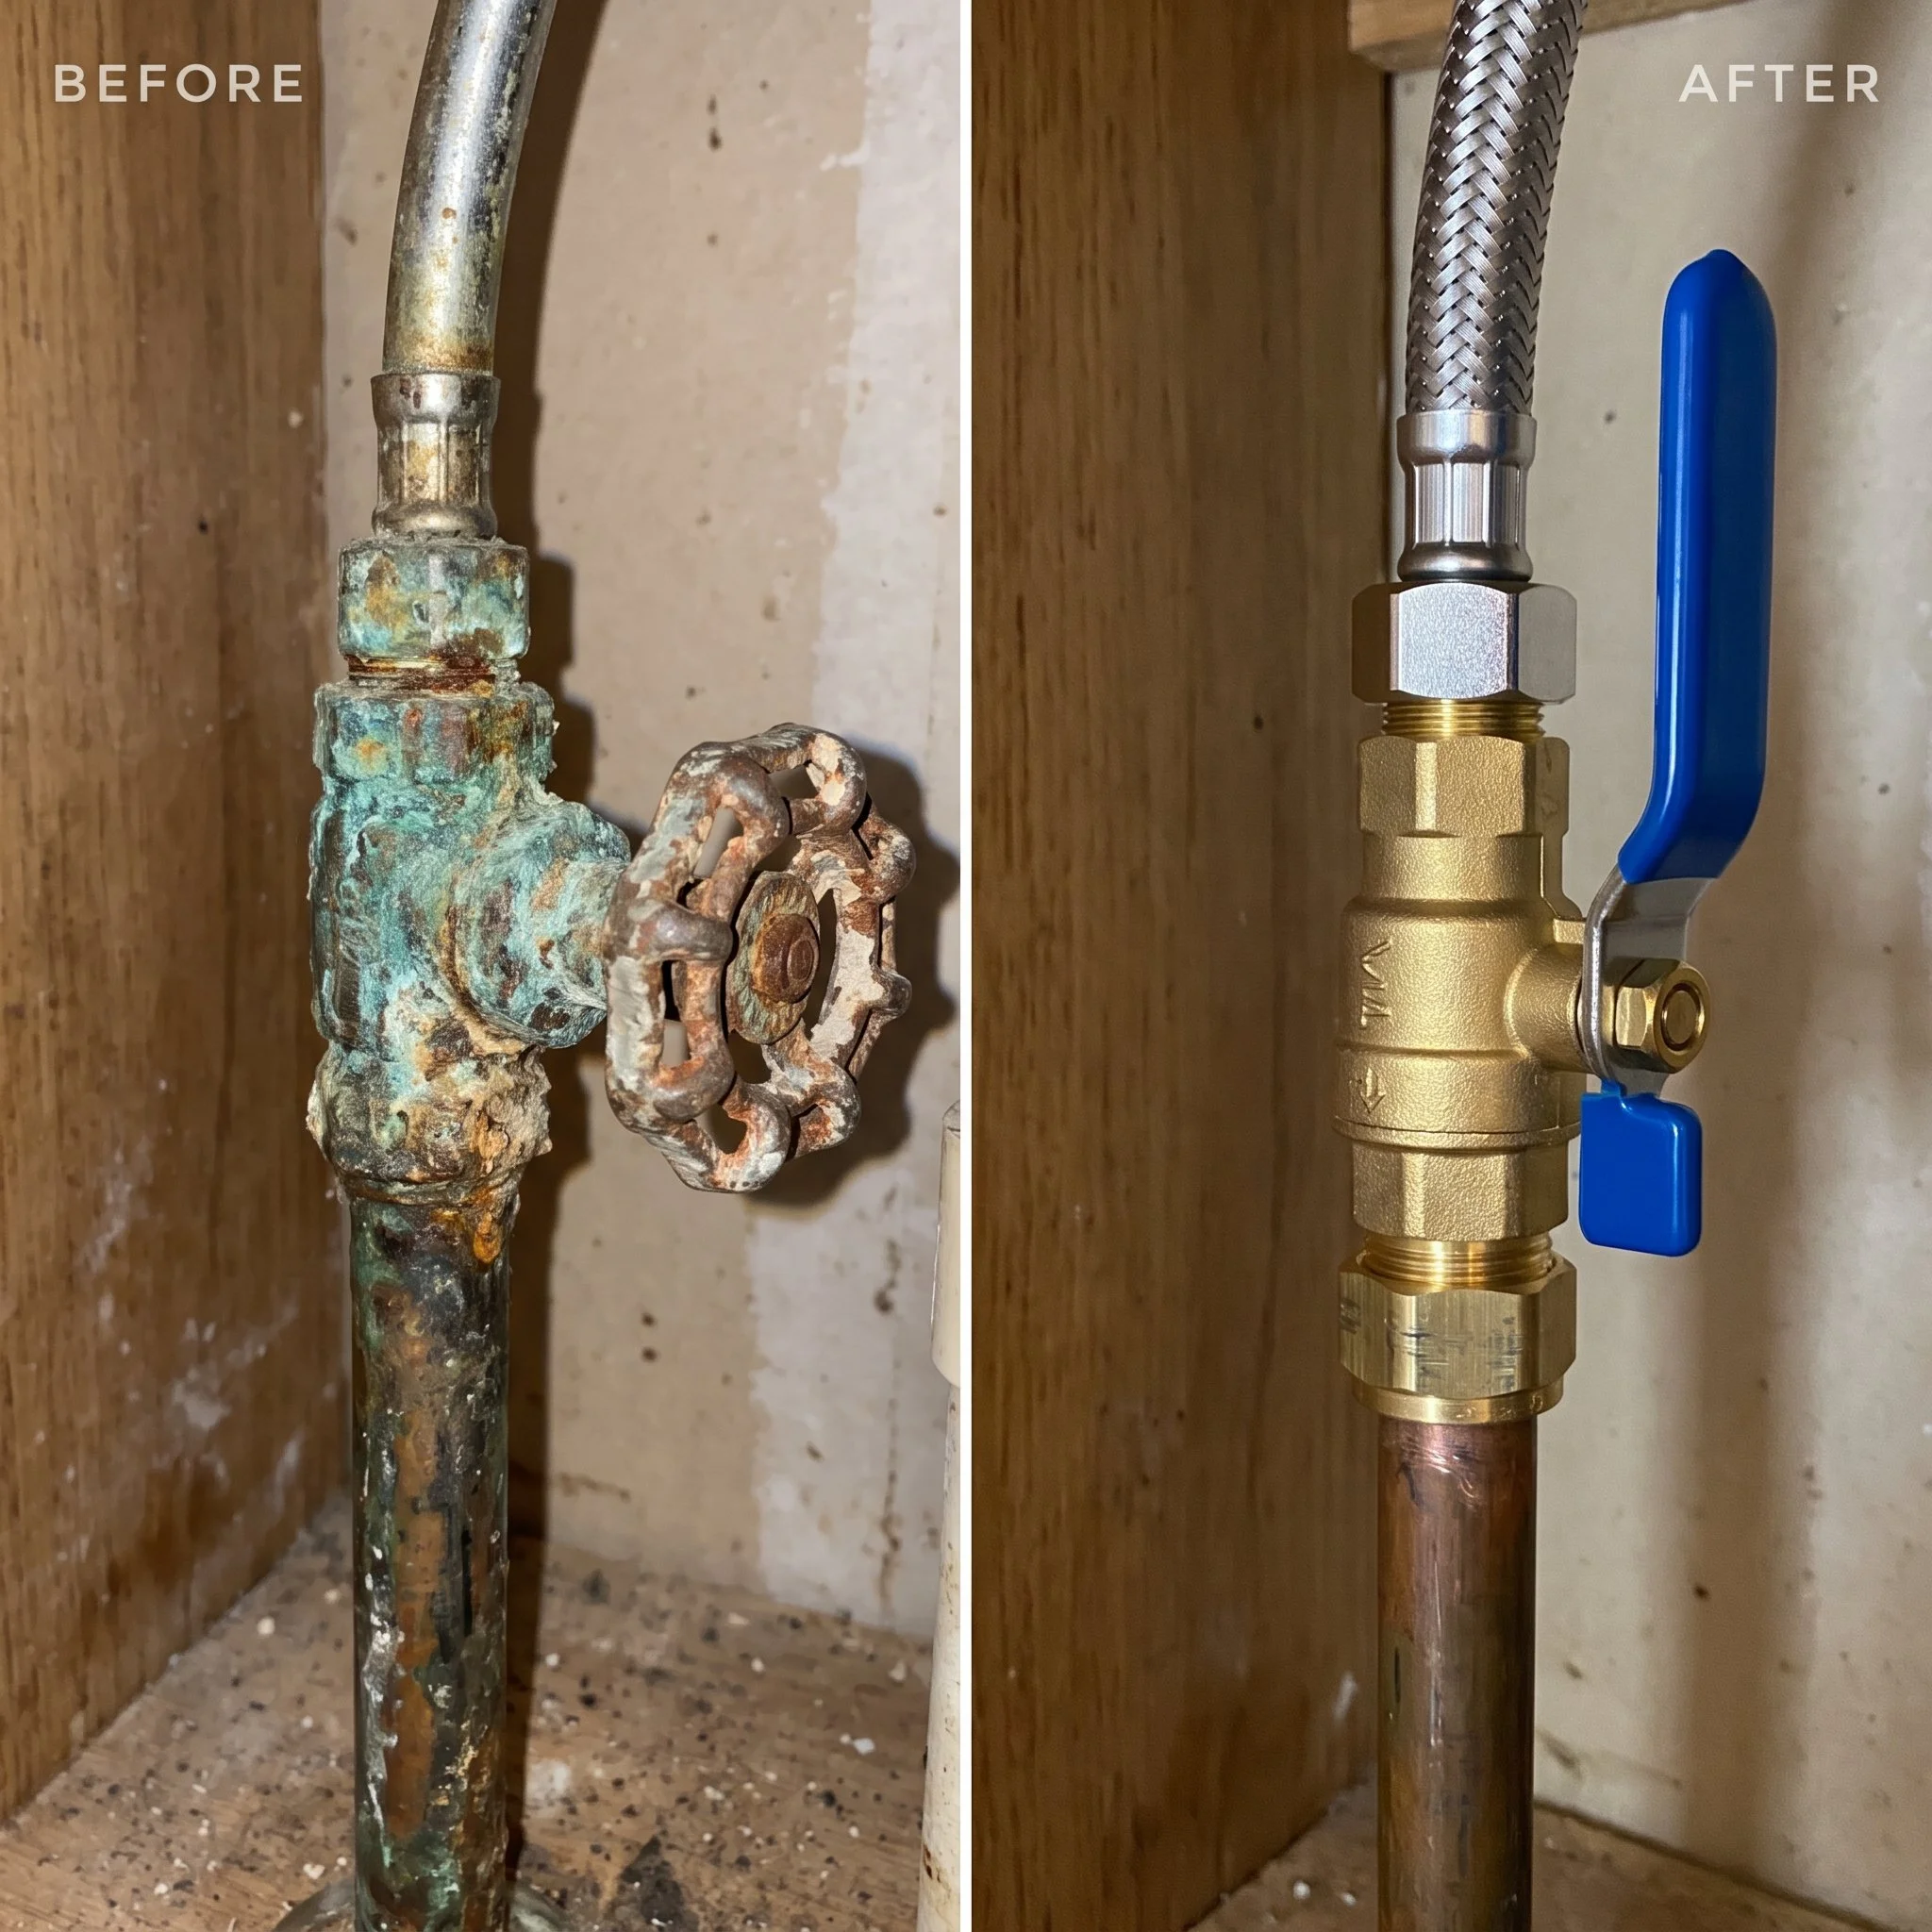
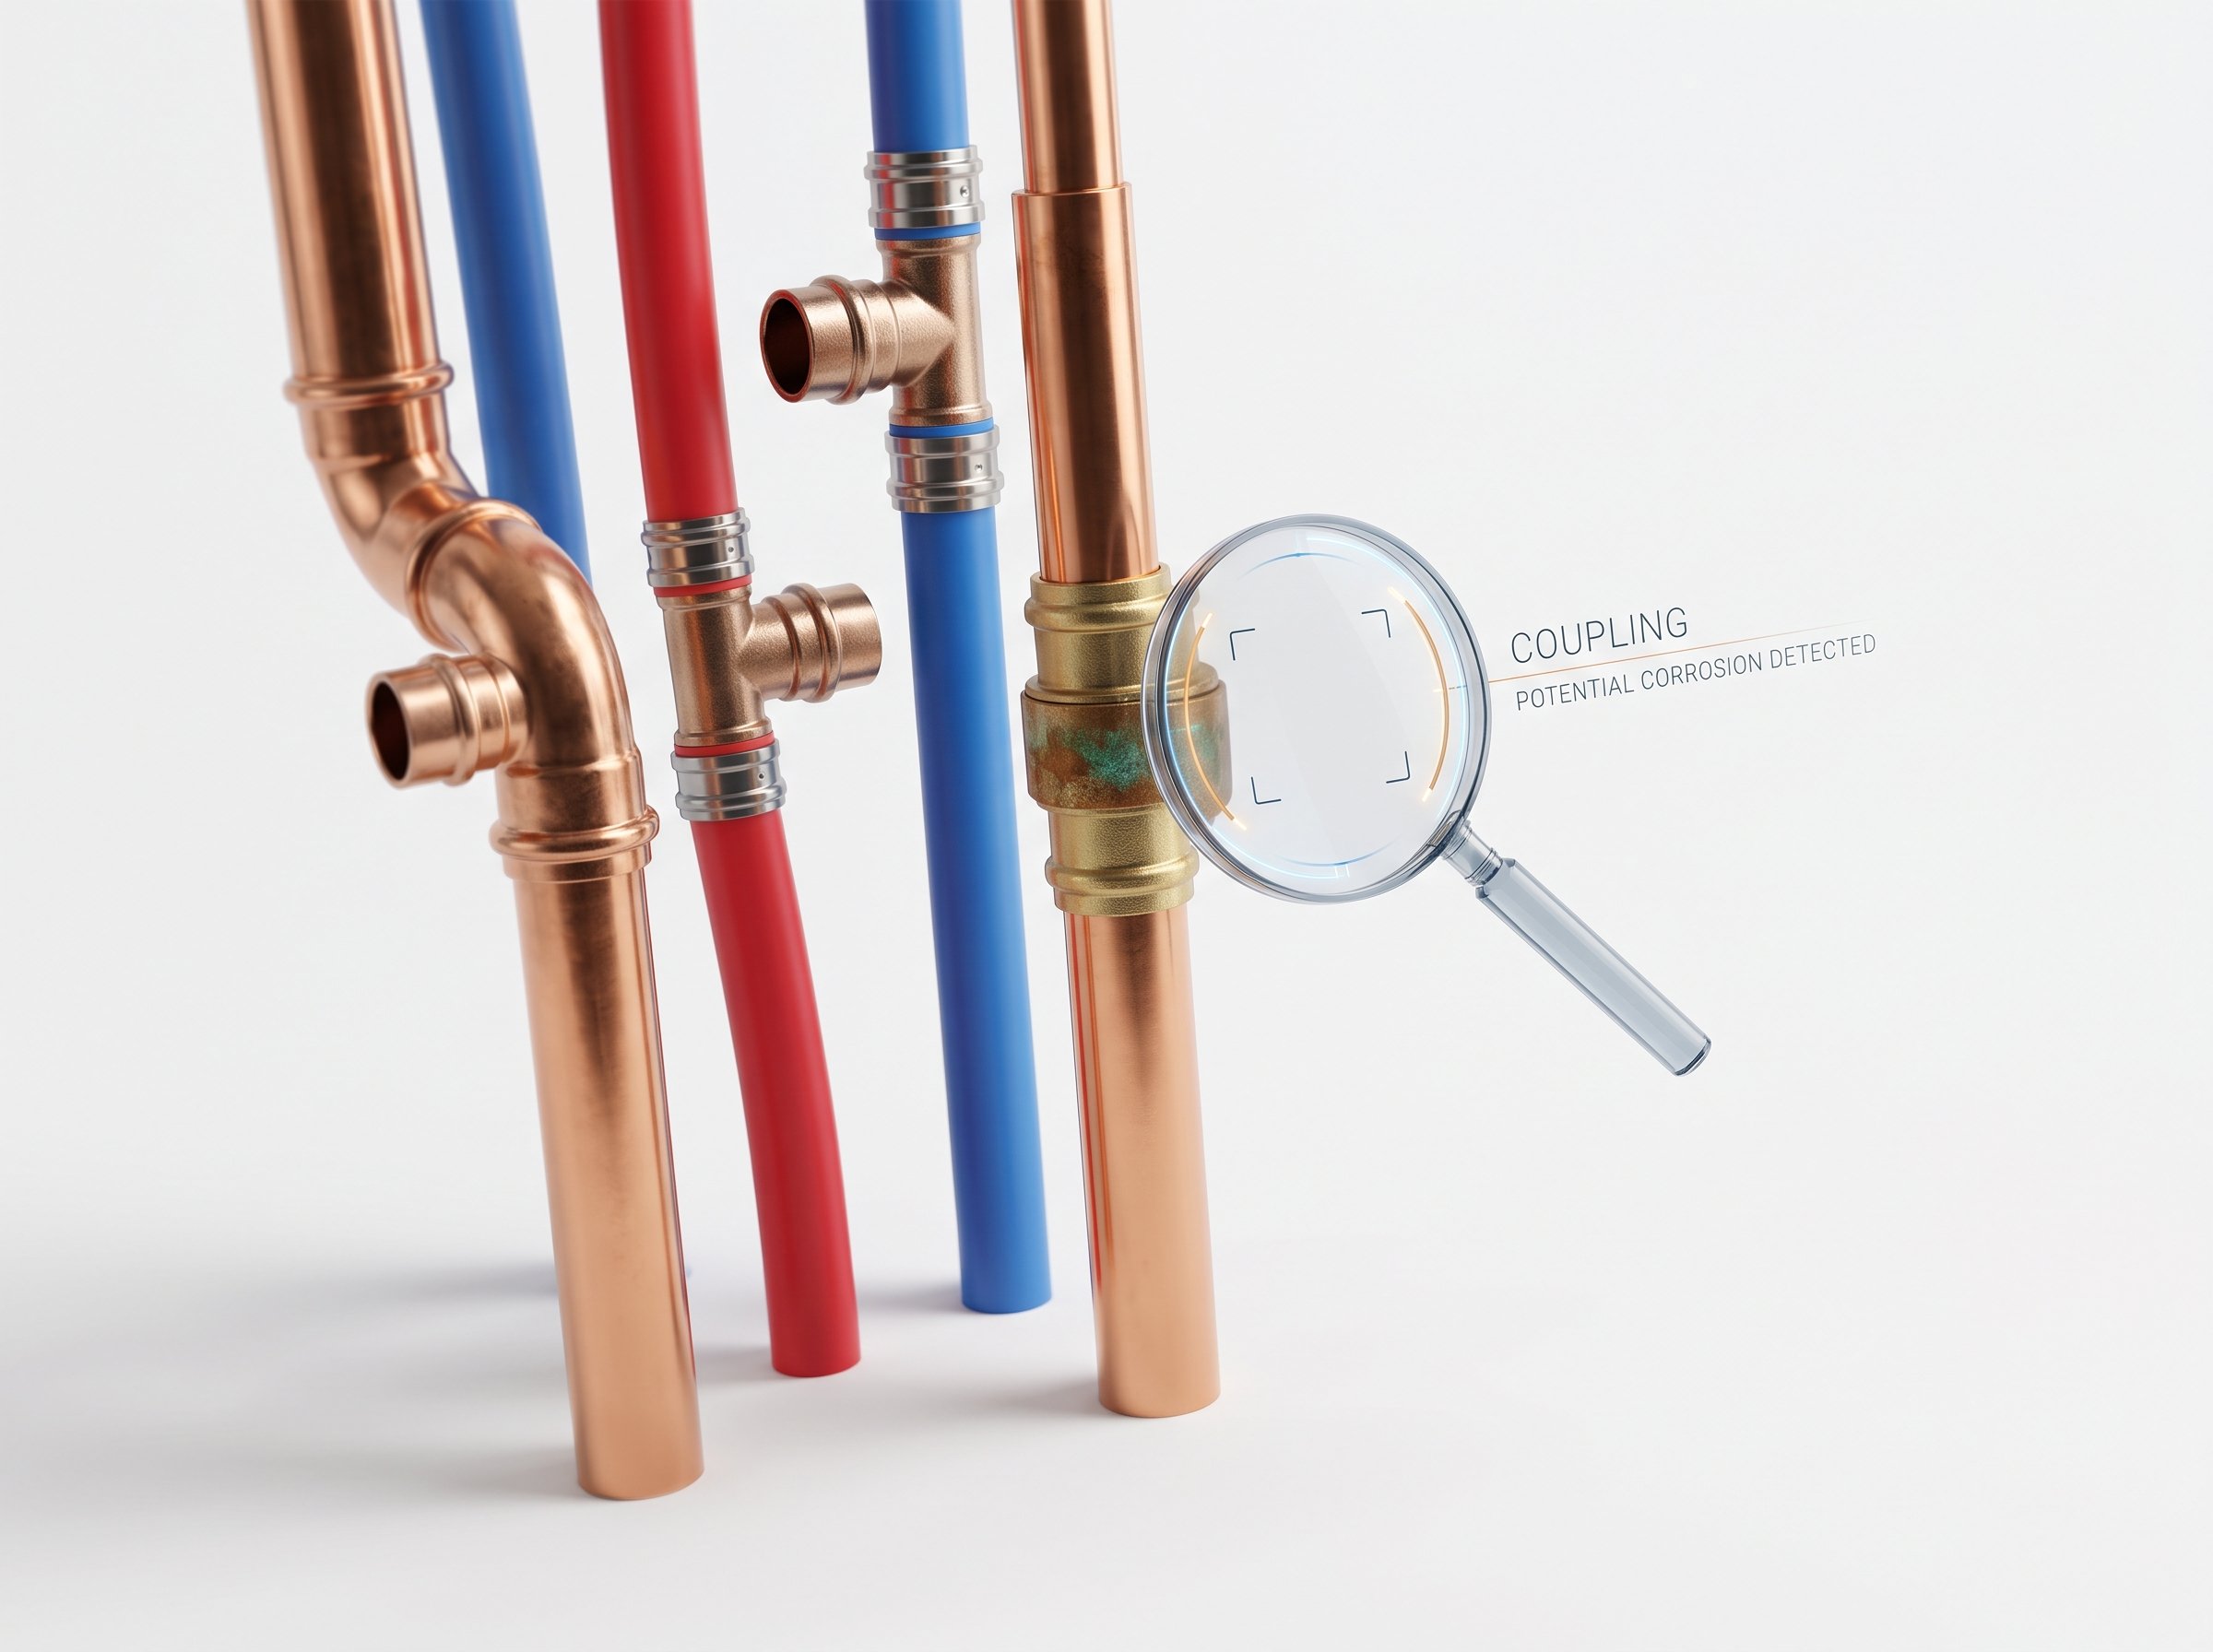
Look closely for white or green buildup on valves, drain lines, and supply lines. That's corrosion, and even a small amount can lead to a denial or a required repair, depending on your insurer.
5. Get Your Roof Ready
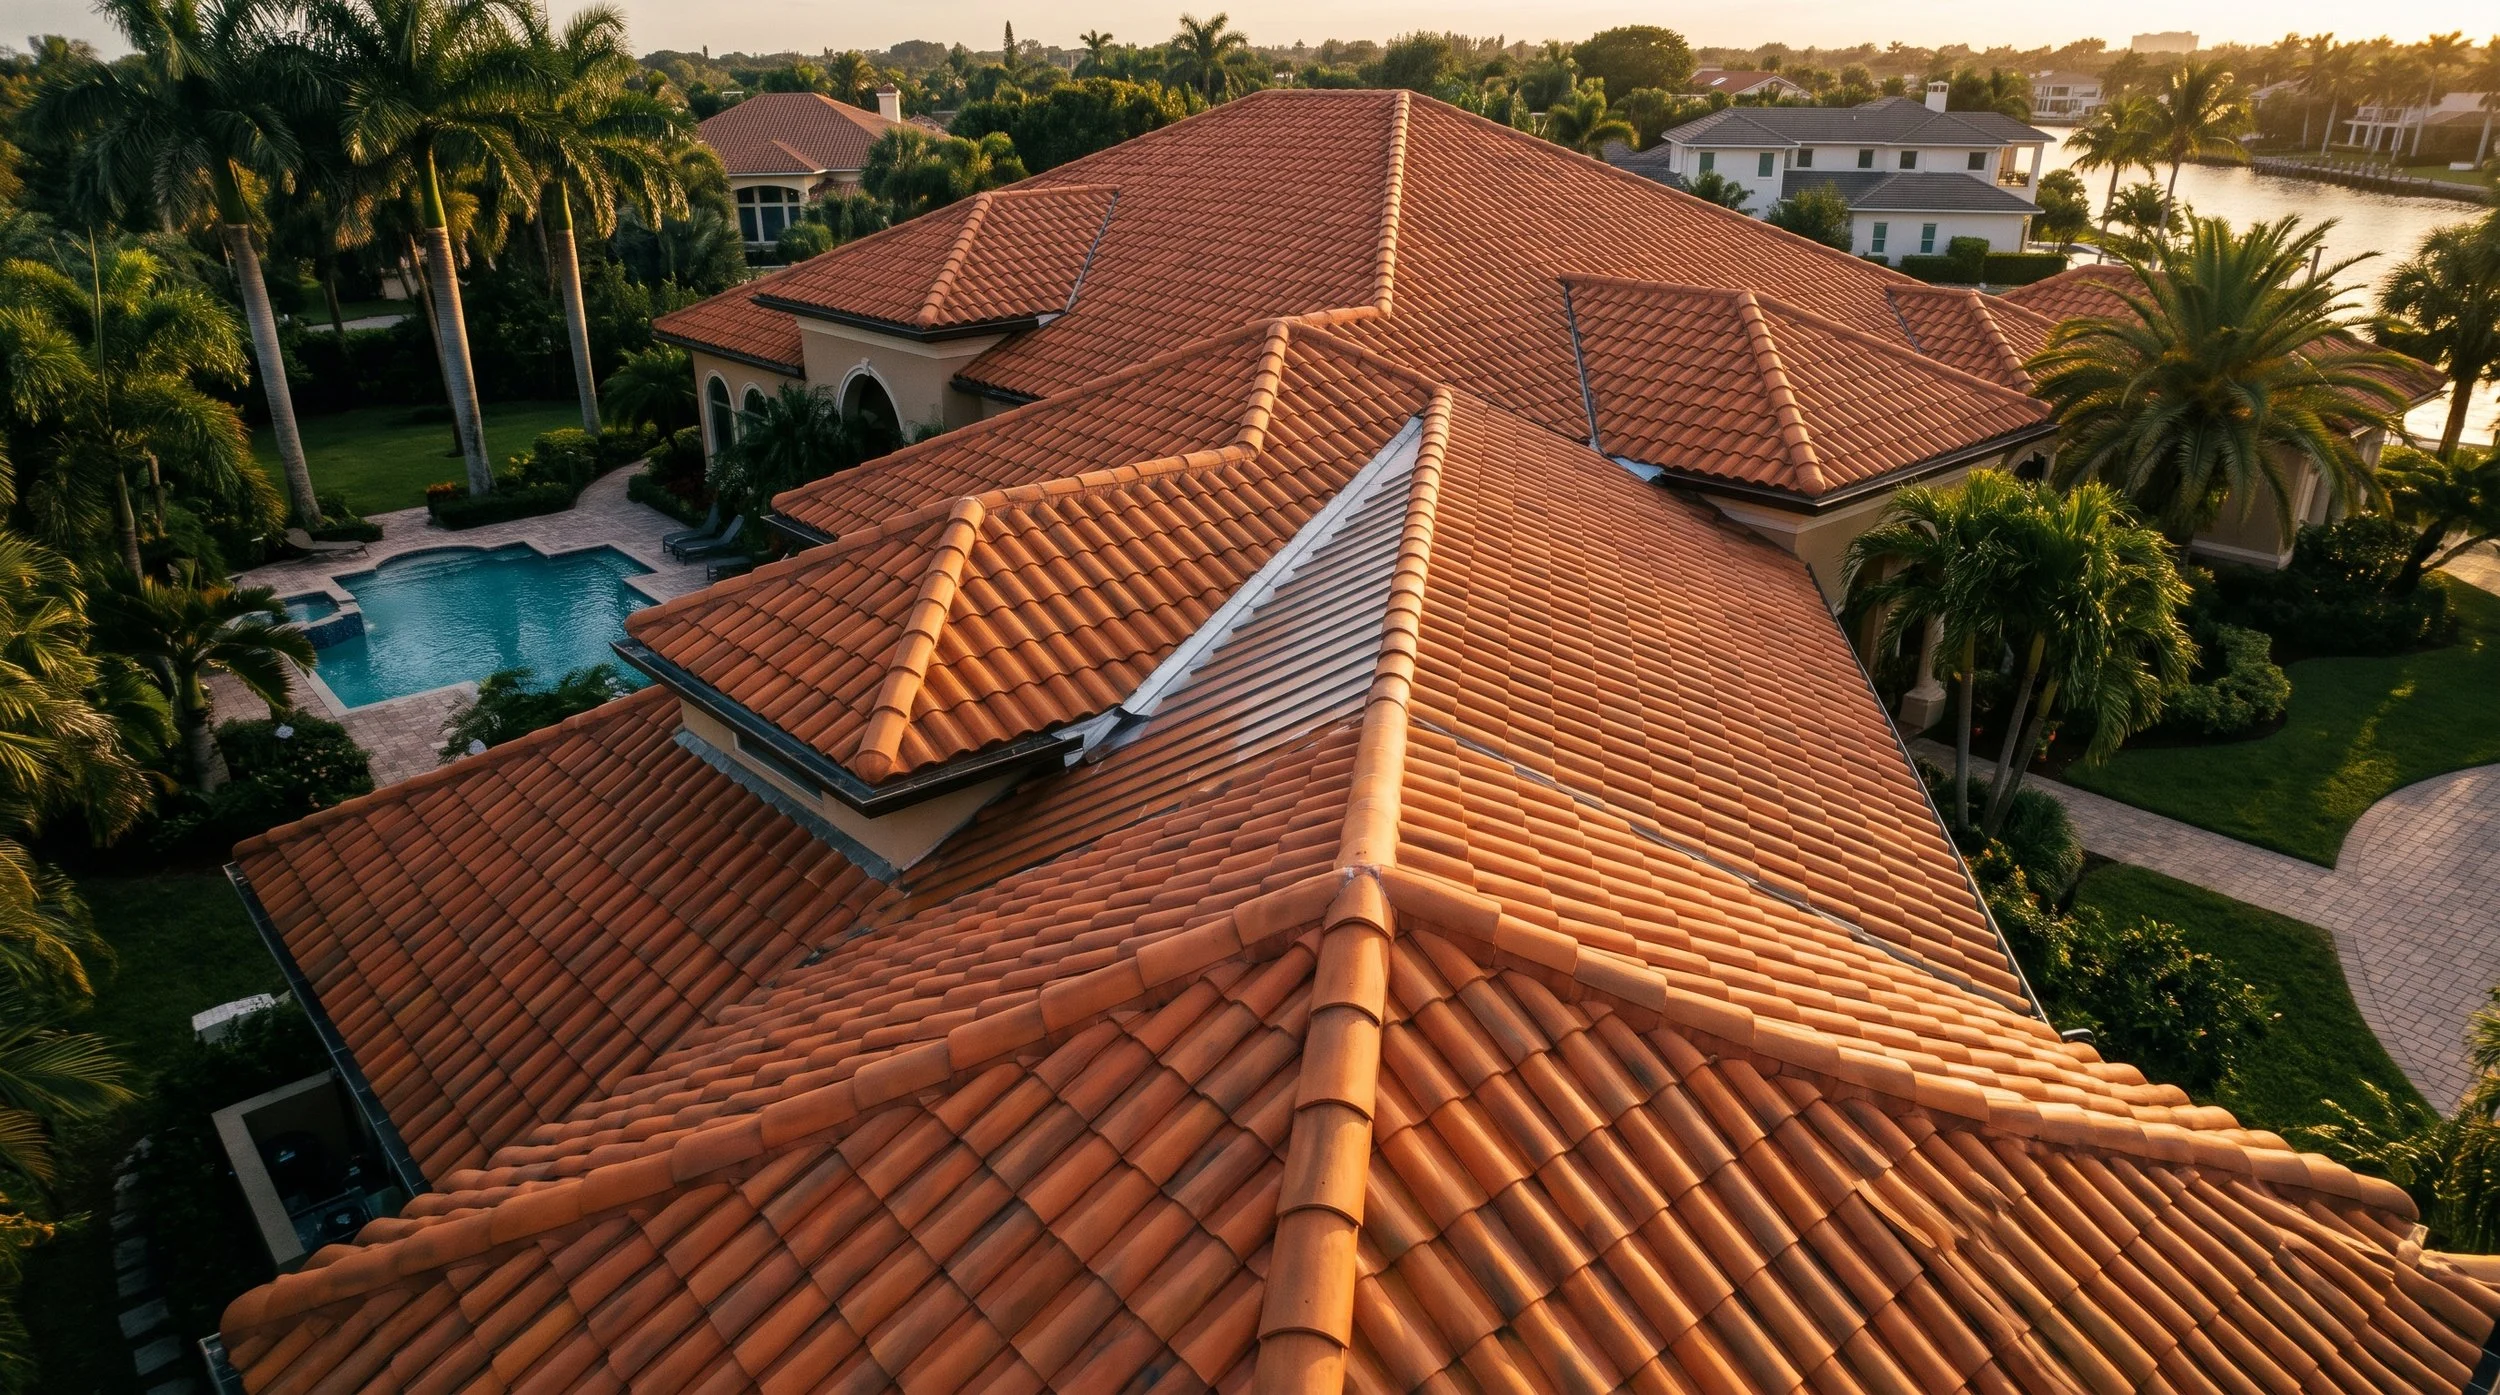
Roof photos are part of every four-point inspection, whether they're taken by drone or by walking the roof. Help the inspector by clearing leaves and debris, especially from valleys and gutters, and by making sure every roof angle can be photographed.
Keep in mind that if a roof looks worn or dirty, some insurers may ask for repairs before approving coverage. A clean roof presents better and makes it easier to see its true condition.
6. Fix Corrosion Before the Inspection
If you find corrosion, don't assume you can simply scrub it off. Some insurers want the affected parts replaced, not cleaned.
Here's a real-world example. On one inspection, corrosion led to replacing the drain line, shutoff valves, supply lines, and faucet. It was more than the homeowner expected, but it was far better to find it before the report went to the insurance company.
If you need repairs:
Use a licensed plumber.
Keep the paid invoice or receipt.
Take photos of the completed work.
That paperwork can make the difference when your insurer reviews the report.
7. Plan Ahead to Avoid a Re-Inspection
If your insurance company asks for a re-inspection after repairs, a re-inspection fee may apply. Finishing repairs before the first visit is the best way to avoid extra cost and extra delays. It's also a good idea to ask your inspector ahead of time how re-inspections are handled.
Quick Four-Point Prep Checklist
Exterior cleared and all four sides visible
Trees trimmed back from the roof
Electrical panels accessible and covers removable
HVAC equipment and water heater uncovered and reachable
Plumbing checked for corrosion and leaks
Roof debris cleared
Any needed repairs completed, with receipts and photos saved
A Note on What a Four-Point Inspection Is (and Isn't)
A four-point inspection documents the condition of four specific systems for insurance purposes. It isn't a full home inspection, and it can't guarantee a home is free of problems. Requirements also vary from one insurance company to another, so it's always smart to confirm what yours needs.
Schedule Your Four-Point Inspection with Kenco
Kenco Home Inspections has been helping homeowners, buyers, and Realtors across Southeast Florida since 2003, from Indian River County down through Broward County. If you have questions about getting ready for your four-point inspection, we're happy to help.
Contact Kenco Home Inspections to schedule your four-point inspection. Many homeowners also pair it with a wind mitigation inspection, so ask us whether that makes sense for your home.
Protecting Your Home. Protecting Your Investment.